

This website is for users aged 21 and over. Please confirm your age.
Everyone loves to smoke their homegrown weed. However, not everyone likes the taste. The taste of your bud will be determined by how you grow them when you harvest them and what you do with them before they are dried and ready for storage. If you follow these simple steps, it is possible to improve the taste of your homegrown buds!
In the world of big business commercial marijuana growers, there are many techniques to disguise a plant’s lineage. The goal is to create a generic product that appeals to the masses who don’t care whether their high comes from a strain called White Widow or Sour Diesel. However, if you’re growing your cannabis at home, wouldn’t you want your buds to have unique flavors and aromas? There’s no need for anyone but yourself and those closest to you to know which specific strains grew where in your garden. Plus, as long as the person-to-person passing of joints occurs between consenting adults, it shouldn’t matter what kind of weed was smoked.
To help you grow better-tasting buds, we recruited the help of an experienced grower with a long history of growing cannabis. I exchanged 25 emails with my friend Bobby from Buffalo, NY, for this article. In those emails, he told me everything I wanted to know about his experiences tasting different strains of homegrown buds and how he improved their flavors using various techniques, including carbon filters, nutrient ratios, and temperatures of the drying process.
While some growers will claim you can only taste differences in weed that is cured for a month or more, Bobby has tasted distinct flavors after two weeks of curing his homegrown organic buds! He said it took him four months to dial in precisely what he was looking for – but you can easily shorten that time by following the simple steps laid out below.
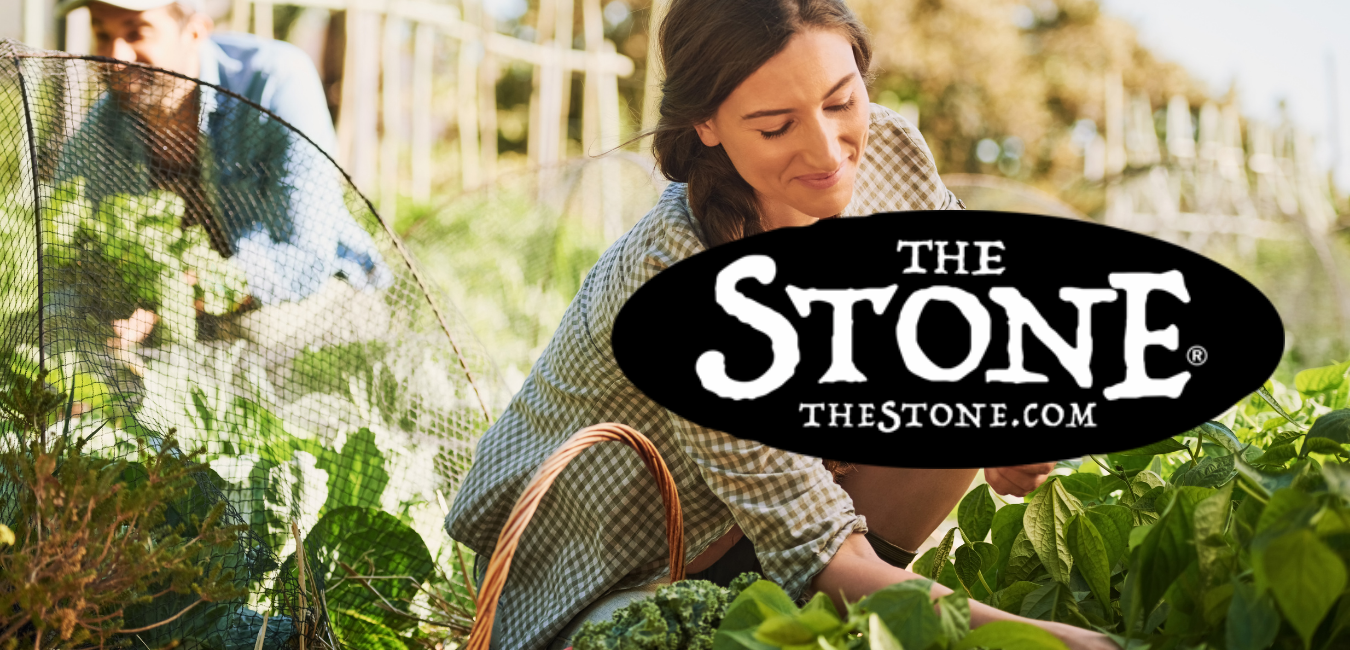
How you grow your cannabis will influence their taste; lots of light and air will get rid of that earthy taste of certain strains.
Ensure that no chemicals were used to get rid of pests or any pesticides were used at all. If this is the case, it may leave a toxic residue on the plant, which will affect the taste.
If you are confident that the cultivation process was completed organically, ensure they are dry enough before storage to avoid molding and mildew.
Ensure that your homegrown weed is stored correctly; it should be in an airtight container or jar, somewhere dark and cool with little or no exposure to light.
If you are storing large quantities of your homegrown weed, store them in a freezer for 24-48 hours before vacuuming up the air and sealing it back up again. This will ensure no pests or insects are living within your weed, which sometimes has an unpleasant taste!
Last but not least, consider what you are going to do with your homegrown weed before you go ahead and harvest it! If you leave the weed to dry naturally, the taste will be slightly different from if you choose to cure them after harvesting. To dry your weed naturally, leave them in a dark, well-ventilated area with good airflow, then when the leaves are brittle to touch, they are ready for harvest. To cure your homegrown weed, choose to dry them slowly over 1-2 weeks by placing them in airtight jars or containers away from direct sunlight and ensuring enough airflow around the container.
There is a third option if you have the time and patience to wait for your homegrown weed. Hang them up in a dark, well-ventilated area until they are ready to chop down! The downside of this method is that it can take as long as nine weeks or more before your weed will be dry enough! This method is only suitable for experienced growers and will result in very high quality, super smoke!
The last tip we can offer you is not to be shy about trying various types of weed during your growth process. If there is something that you like, try to replicate the conditions present when your weed grew to like this! This could be because it was developed under specific light conditions, in nutrient-rich soil, or during the flowering stage!
If you’re growing organically, chances are you’ve already invested a lot of time and energy into producing a superior product. Yet if your final product doesn’t meet your high standards, then all those hours spent pruning, trimming, and caring for your plants may seem like a waste. This is especially true if you plan on sharing with friends or selling to people who don’t know the first thing about growing their weed at home.
First, you need to follow the same advice for growing any marijuana strain:
Choose a top-quality organic soil mix that provides all the nutrients necessary for your plants to grow healthy without offering too much nitrogen (which will cause sugar leaves). The reason it’s crucial to use an organic soil mix is because non-organic fertilizers are salt-based and don’t break down in the soil over time. This results in hard water build-up on the surface of your buds which damages their flavor.
Ensure your pH tests your plant foods or compost tea to ensure they are within the 6-6.5 range before feeding them to your plants. Most commercial food has a high phosphorous content which can damage your taste buds.
To improve the taste of your homegrown marijuana, make sure to offer your plants plenty of ventilation while they grow. This keeps humidity levels in check and prevents mold. When it’s harvest time, be sure to dry your weed slowly (10-14 days) at a temperature around 70 degrees Fahrenheit. If you live in a humid environment like Buffalo, NY, then use an airtight storage container that will help keep out excess moisture during the curing process, which is especially important if you plan on smoking organic bud!
Once you’ve mastered these three factors, you’re well on your way to growing better tasting buds! Note: If you’ve already harvested your marijuana and are looking for ways to improve the flavor before smoking it, Bobby found that he got the best results by removing all stems and tiny buds until only the large cola remained on each plant. He then hung it upside down in a dark place with a temperature between 60-65 degrees Fahrenheit for two weeks before placing it into his jars to cure.
The first thing I noticed when sampling one of Bobby’s homegrown nugs is how much more sour it tasted compared to the typical commercially produced weed you can buy anywhere else. As soon as I lit up another bowl from his plants, I asked him if he had added any special supplements or nutrients to his soil mix during their grow cycle because I couldn’t believe there was so much flavor coming from an organic bud!
“Just good ol’ compost,” he told me.
Yes, compost, which happens to be free if you know where to look! He explained that the garden bed used for this crop was composed of 2/3 “composted” horse manure (which is very low in nitrogen) and 1/3 bagged organic soil mix. The plants were grown under an array of dim fluorescent shop lights, consuming 64 watts per square foot of growing space. Overall, Bobby estimated they spent around $500 building his indoor garden (although he said he invested at least another thousand dollars worth of time and energy into it).
Now you have read this article, why not share it with your friends and see if they know any tricks that will improve the taste of their homegrown herb! There are many ways to smoke your weed. However, I guarantee there is nothing better than homegrown!

Everyone knows Colorado has some of the best weed in the world and so there’s no surprise Colorado dispensaries are popping up everywhere. Colorado dispensaries must meet numerous requirements if they want to stay open, but one of the most important factors is having a good dispensary manager.
There are many qualities Colorado Dispensary managers should have such as:
· Good knowledge of marijuana strains and their medical benefits
· Good knowledge on cooking with marijuana edibles
· Friendly customer service skills for an inviting atmosphere
If you are visiting Colorado you might want to ask around about certain Colorado Dispensaries before you go in so you can assess whether or not it’s worth your time. However, there are other factors to consider when determining whether or not Colorado Dispensary is good.
Colorado dispensaries are all about service, so be sure to ask yourself if Colorado Dispensary has friendly bud tenders? Colorado people want to feel welcomed in the Colorado dispensary, and once you’re inside you’ll want to feel like your questions are being answered. Colorado Dispensaries need good employee retention because it’s ideal for customers to develop relationships with the employees who also have great knowledge of marijuana strains, cooking with edibles, etc… This way Colorado dispensary workers can help you find the perfect strain for your needs.
So don’t forget to ask around about Colorado dispensaries before going in! If someone gives you a confident thumbs up then that’s probably a good Colorado dispensary to go in. Colorado dispensaries are all about service, so be sure that Colorado dispensary has good customer service skills and employee retention before going inside.
Thanks for reading! Remember to give this article a share if you enjoyed it.
To learn more about Colorado marijuana laws check out our Colorado Dispensary Laws section. We also have a list of the Best Denver Dispensaries . Do you know what makes a good Colorado Dispensary ? We’d love to hear your thoughts below in the comments! Stay tuned for more from The Stone on social media: Facebook – Twitter – Instagram – YouTube #TheStone
We warmly welcome you to explore our highly acclaimed strains, concentrates, and edibles. Serving recreational clients with pride is our passion.
At our dispensary, you'll find a professional yet inviting atmosphere that prioritizes your comfort and privacy. Feel free to stop by at your earliest convenience to experience it for yourself. We can't wait to serve you!