
This website is for users aged 21 and over. Please confirm your age.
Growing weed outdoors can be daunting. Especially for first-time growers. While it may seem that you are left with nothing but steep learning curves ahead of you, fear not! You are not alone in this process. You may have to do some research online before you realize growing weed outdoors isn’t as easy as it seems.
But how did these other people learn without the same access to the information? Take it one step at a time and figure out what works best for you through trial and error. When questions arise, you will likely already know the answer, because you will have figured out most things already. And that’s where this article comes in; to help guide you through the process of growing weed outdoors, organically.
Let’s start with some basics about how plants work and grow. Then we’ll move on to methods for sprouting your seeds into seedlings, transplanting them into a bigger pot, then eventually transferring them into their flowering pots.
This means that female flowers develop from shoots separately from male shoots. The male plant dies after pollinating the female plant, while the female stays alive to produce flower. Females can be both sensimilla or regular marijuana if they are not pollinated by a male plant, but their bud is less potent.
I’ll give you the quick list first. Then I will expound on the steps to make sure you’ve got everything down.
Use compost, worm castings, bat guano, etc. Don’t use chemical fertilizers!
Keep them inside until they sprout! This is called “the germination process”. Keep them at around 70-77 degrees Fahrenheit (20 C) for three days, then move them to filtered sunlight. Do not overwater them during this time because they are extremely sensitive. You may want to spray them with distilled water or a mixture of filtered/distilled water. Make sure you give them a mild fertilizer to keep the soil moist until they sprout, then you need to keep the soil moist without overwatering your plant!
Transplant them into bigger pots and start giving them filtered sunlight. Keep it up until you get some true leaves (not just seed leaves). Now you can also water more consistently because the roots are growing deeper into the soil where it’s damp.
Marijuana can be started from seeds, clones, or cuttings. I’m going to assume everyone reading this already knows that much and we’ll move on. What we’re really interested in is how to grow weed outdoors organically.
Then fill it up about 2/3 of the way with dirt. Then put a small divot in the dirt and drop one seed into each divot. Cover them up with another thin layer of dirt, but don’t cover them all the way or you will smother them! Just make sure they aren’t sitting on top of the soil.
Plant seeds about an inch apart from each other for maximum growth!
This should take anywhere from four to seven days depending on how warm it is where you live. It will be easier to transplant them outside once they have their first true leaves. This will make the roots will grow deeper as the plant matures.
When you move your weed outdoors during this time, make sure you put some kind of fence around them. That way they can’t be easily seen by people walking by that might want to steal them! And don’t forget to water them a little more often now that they’re growing in the heat of the sunlight.
They should be big enough to handle transplanting by the time you go through this step. I like to transplant my weed into about four-inch pots. It won’t hurt them if you transplant them into bigger or smaller pots at this stage.
Mix some organic compost and worm castings or bat guano in with the potting soil. You can also water more frequently now since their roots are growing deeper and they’re starting to develop a taproot. Only water when the soil is completely dried out!
When outside, make sure they are not exposed to direct sunlight all day long because the sun will kill them! And make sure they aren’t near a road because cars and motorcycles will probably destroy them too. If you’re growing in pots, just move them somewhere else if this starts to happen.
Although marijuana can survive some cold weather, it won’t be able to grow new leaves once the temperature dips below 50 degrees Fahrenheit (10 C). It is very important that you keep a close eye on outdoor marijuana during the fall because even small drops in temperature may stop your plant’s growth completely which can ruin your whole crop!
You have two options:
2. Wait until late October to harvest them when the days have become shorter and the air has started to get chilly.
Some people will cut down their whole plant before they start flowering. Others prefer to just cut down only the top part of the plant that’s already growing bud at this point. You can hang them upside down from clips or ropes. This will make sure you can easily access it when it comes time to trim off the leaves. Otherwise, you may have a tough time harvesting all of your plants without help from another person!
Nobody wants male marijuana plants. They won’t grow buds, so make sure you kill any males immediately after identifying them; they generally look like mini versions of female marijuana plants with no buds. Do this by cutting the stem just above the male leaves and throwing it away! It is very important that any male plants are removed as soon as you identify them. If they pollinate females, their seeds will become seedy bud which nobody wants.
After harvesting, keep your lights on for 12 hours a day. Your plants can thenre-vegetate and start growing new vegetative buds and leaves to replace those you harvested. Put your lights back on an 18/6 schedule again once you notice the vegetative growth starting to slow down. If all has gone well, then harvesting shouldn’t affect how much THC is in your bud at all!
Once your marijuana starts flowering, reduce the amount of time that your lights are on by two hours per week until you reach 12/12. You can tell by the changing color and growing buds. This is when they will start making babies! If you continue giving it 18 hours of light a day, your females will keep on flowering, and never stop making bud. This can be bad because too much THC may mean, among other things, less flavor and less smell.
Outdoor plants tend to get really fluffy in late November when there’s low humidity in the air. Keep this in mind if you plan on curing your weed outdoors so they don’t all stick together when you try to break them up. This usually only happens with outdoor marijuana, so if you’re growing indoors it probably won’t be an issue for you.
This is a good sign because it means that the THC is no longer inside them. That means they are now useless to smoke or vape! You may also see crystals starting to grow on the outside of your buds, which is even better news. This will give your pot more flavor and smell although some people still think crystal-covered bud is too harsh to smoke (I disagree).
make sure each plant has at least two feet (61 cm) of space around it. This ensures that all of your plants get enough light to grow big buds at the end of the season. Also, it’s a good idea to add fertilizer when they’re about six inches (15 cm) tall. Your bud could use some extra nutrients during this point in its growth!
Make sure you store them properly so they keep fresh long-term. Make sure any cannabis you plan to consume is stored in a cool, dark place; away from sunlight and moisture. You can vacuum seal them to avoid having air contact with your nuggets or use glass jars with rubber seals on them. If you’re growing inside, store it in a dark container inside your fridge.
Take clones before winter comes so they can root and regrow into healthy cannabis plants for next summer! If you cannot access them throughout the winter months, make sure they are properly protected from the elements that may ruin them such as frost. Also, be careful about where you choose to store them. Mice love winter too and will happily eat through your best buds if they have the chance!
There’s no need to reduce light exposure time. Your bud will switch from vegetative growth to flowering no matter the amount of exposure. In fact, reducing exposure time can be bad for them because it may stunt their growth and reduce flower size. This is not good if you want big buds!
it’s a good idea to give your marijuana plants something to root into as they’re standing upright. They need a stable structure! Sand or dirt works fine. Just make sure that whatever you use doesn’t contain fertilizers or chemicals which could kill them. Even mulch should work if you don’t have anything else on hand; as long as it isn’t treated with pesticides, etc.
Make sure you buy feminized seeds from a reputable source instead of regular seeds. They will produce all-female plants which grow buds and don’t waste space on the males. Females are the ones that produce smokable nugs at the end of their life cycle!
Make sure to check up on your outdoor cannabis every day so problems can be spotted as soon as possible! Cannabis that has been neglected will almost always have a shorter lifespan than those that are regularly looked after. This is especially true if your weed was grown outside where there could be potential pests or weather issues!
Keep an eye out for spider mites and powdery mildew during late flowering, especially if you grow your cannabis in a greenhouse. They are the most common problems growers have. If you spot either pest, then you must act fast before it’s too late!
Once most of the white hairs on your marijuana plants have turned brown and died, they’re ready to be harvested. Start by cutting off each branch with scissors or garden shears. Do this one at a time until all of them are gone. Then, hang them upside down somewhere where the sun doesn’t shine for about two weeks. During this time, any remaining white hairs will turn yellow).
It may seem like there isn’t much information out there about cultivating marijuana outdoors but this is far from true! There’s a huge and dedicated community of cannabis growers who like to share their experiences. Visit an online forum or social media site that is populated by experienced growers and follow their advice!
Your bud will be ready for the next step when it has been drying for two weeks. Use a pair of garden shears or scissors to cut apart all the buds. Make sure there are no large stems sticking out. Then, put them in bags and put them away where mice can’t get at them! Keep in mind that each plant should produce around 1 ounce (28 grams) of bud. If your plants are bigger than average, they should produce more.
If you want to grow even better cannabis outdoors, give it a head start so it flowers earlier. Try soaking the seeds in warm water for 24 hours before planting them! This is known as scarifying the seed, it is said to make seedlings more likely to survive when they’re first planted outside.
Remember that outdoor weed requires lots of sunshine, fresh air, and good ventilation. Proper airflow prevents mold from growing inside where it can ruin whole crops!!! Make sure that equipment is functioning properly, holes have been covered up, and there’s nothing blocking airflow. This could lead to an increase in humidity.
Choose a sunny part of your garden, allotment, or even backyard to plant your seeds. This is where they will get the most sun which makes them grow their best! They won’t produce anything worthwhile without the required amount of sunlight.
It may be tempting to water outdoor marijuana every day but this isn’t necessary unless it hasn’t rained in a while. However often you water, make sure that the soil isn’t constantly wet. Too much moisture can cause problems during flowering. So wait until the top inch (2.5cm) feels dry before giving it another drink!
If your outdoor marijuana looks like it’s about to start flowering, then you can give it “super thrive”. This is known to increase the yields of most crops by up to 30%. It’s an organic plant hormone. It helps promote healthy growth so giving them some super thrive at this critical time won’t hurt. Just remember to water them every day during this stage of growth. It will take longer for them to get all the nutrients they need due to reduced sunlight levels!!!
Once you see that white hairs on your bud are turning brown and dying off, then it’s time for harvest! Find a pair of garden shears or scissors and cut down your plants about 2 inches (5cm) above the ground. This helps ensure that you get every last nug.
If there are any large items left when cutting your bud down, then use wire cutters to snip them off. Hang it upside down in bunches somewhere dry where mice can’t get at it!!! Make sure that air circulates freely around each bunch. If they start turning brown or feel brittle, they need more drying time. Keep checking on them every few hours until the buds are nice and crispy!!! Now all of your outdoor cannabis plants have been picked, dried out, and cured. It’s now ready to roll up or pack it in and smoke.
Take big puffs in a sitting position while exhaling slowly for around 5 seconds each time until there’s nothing left!!! Don’t worry if this isn’t how you usually smoke, it will take some practice before you can get it right! It may be helpful to lie down on your side when inhaling. The “super thrive” can make us feel tired and weak after taking even one puff.
Outdoor marijuana should produce around 1 ounce (28 grams) of bud per every 2 feet60cm) they grow. If you plant them somewhere sunny and give them lots of water, you might end up with around 2 ounces (57 grams) total of dried bud for every 4 feet120cm) that grows outdoors. However, some strains will produce more than others depending on the amount of sunlight they get!!!
Try adding a few healthy leaves from other plants such as mint, parsley, or basil. This is said to reduce the “green” taste so your smoke sessions will be a lot smoother if nothing else! Just make sure that there aren’t any harmful chemicals when mixing different plant matter together. It can have a negative effect on everything, especially during the growing season!!!
If you really want to get the best taste possible from your outdoor marijuana, then make sure they’re healthy. Feed them organic fertilizers like “super thrive” or even some cow manure unless you can find something that is organically grown and doesn’t contain any chemicals at all!!!
Now you know how to grow weed outdoors! You might even think of new ways to improve for the next crop. Remember that indoor bud will always give more of a yield than outdoor bud. It’s worth trying both methods, though. Think of it as an adventure! Learn from your mistakes to get the best possible yield that doesn’t involve any chemicals!!!
Here’s a helpful tip if you want to harvest when there are around 2 months left since planting!!! Start checking for bud development between 10 am-2 pm every day so you know when it’s time to harvest. That should be around September/October depending on where you live. If this method makes it seem like you’re harvesting too early, then wait until the white hairs turn brown and started curling inwards. This is when they’re ready for picking!!!
Once harvested, dried, and cured, you can finally put your plants away for the winter season. You’ll have lots of dried marijuana to enjoy! Just remember that when there’s less daylight in winter, then it’s harder for outdoor marijuana to grow. They’re affected by the cold weather!!! For this reason, it may be helpful to bring them inside during December/January.
One last thing to mention… never forget about your regular watering schedule which should be around twice per week depending on how warm or cold it is outside during your next season!!! Now you know all about how to successfully grow weed outdoors organically. Happy harvesting!!
Outdoor cannabis plants should produce around 1 ounce (28 grams) of bud per every 2 feet60cm) they grow so if you plant them somewhere sunny and give them lots of water, then you might end up with around 2 ounces (57 grams) total of dried bud for every 4 feet120cm) that grows outdoors. However, some strains will produce more than others depending on the amount of sunlight they get!!!
Try adding a few healthy leaves from other plants such as mint, parsley or basil because this is said to reduce the “green” taste so your smoke sessions will be a lot smoother if nothing else! make sure that there aren’t any harmful chemicals on those fresh leaves whenever you’re mixing different plant matter together because it can have a negative effect on everything especially during the growing season!!!
Make sure they’re healthy by feeding them organic fertilizers like “super thrive” or even some cow manure unless you can find something that is organically grown and doesn’t contain any chemicals at all!!!
You should be able to come up with new ideas on how to improve your next crop’s yield which means more harvests for you in the future!!! Just remember that indoor bud will always give more of a yield than outdoor cannabis so it’s worth trying both methods if the pot isn’t just about getting stoned!!! Instead, think of it as an adventure where you can learn from your mistakes to get the best possible yield from your cannabis plants in a way that doesn’t involve any chemicals!!!


Hemp is a plant that has been cultivated throughout history for its many benefits such as nutritious seeds, strong fibers, and medicinal value. It was one of the first crops grown in North America when settlers arrived from Europe in the late 1400s.
Today, hemp has become an integral part of cultivating the marijuana plant with the advent of hydroponics and indoor grow rooms.
Learn how to grow marijuana outside organically and naturally with these helpful tips:
The best place to grow marijuana outside is in the ground where it can receive plenty of sunlight. Note that if you are growing indoors or in a greenhouse, you will need to supplement lighting to reach the minimum requirement of six hours per day.
You will want to alter the soil by adding one part of peat moss to every three parts of soil for your ground. This ensures that the plant is getting all the nutrients it needs and is draining enough water throughout its growth cycle.
The pH level of your soil should be between 6 and 7 (6.5 works best) in order for it to be ready. If your pH levels are either acidic or alkaline, the plant won’t get the nutrients that it needs and will die.
By following these helpful tips, along with a few beginner mistakes and common-sense practices, you can grow a healthy crop of weed outdoors organically without chemical fertilizers or pesticides.
Have any comments? Leave them below!
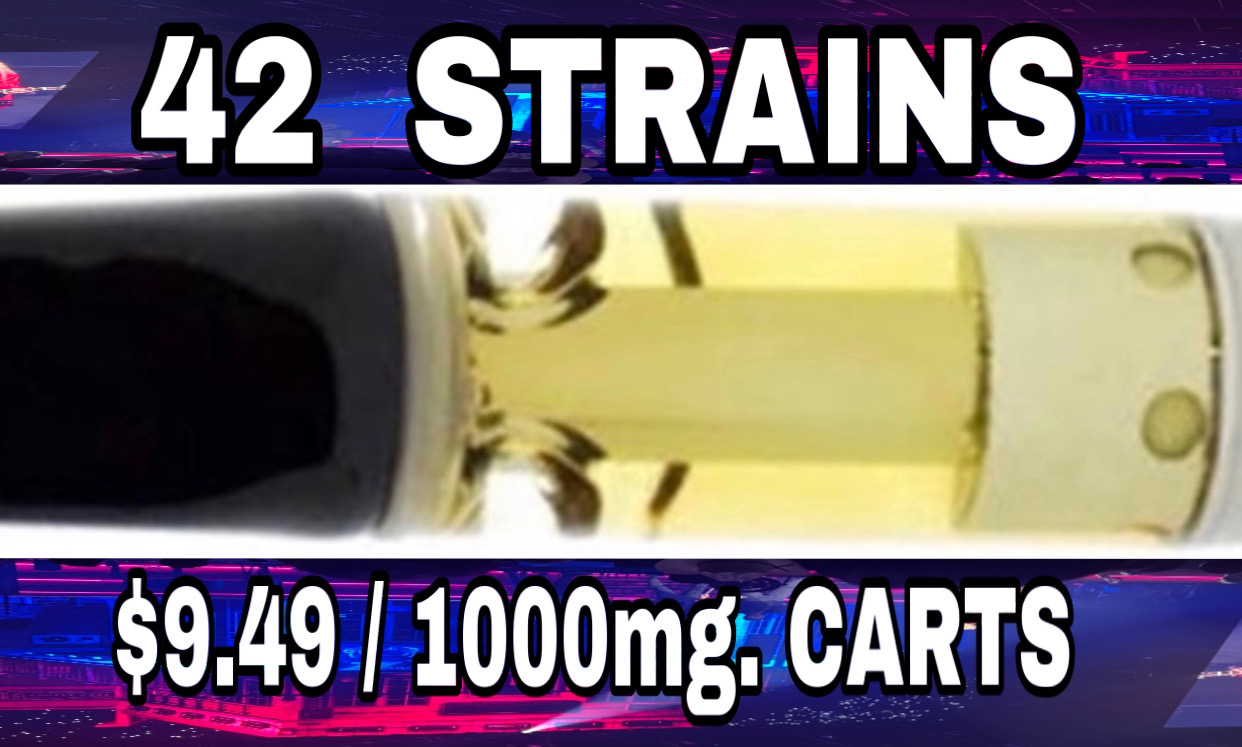
We warmly welcome you to explore our highly acclaimed strains, concentrates, and edibles. Serving recreational clients with pride is our passion.
At our dispensary, you'll find a professional yet inviting atmosphere that prioritizes your comfort and privacy. Feel free to stop by at your earliest convenience to experience it for yourself. We can't wait to serve you!