
This website is for users aged 21 and over. Please confirm your age.
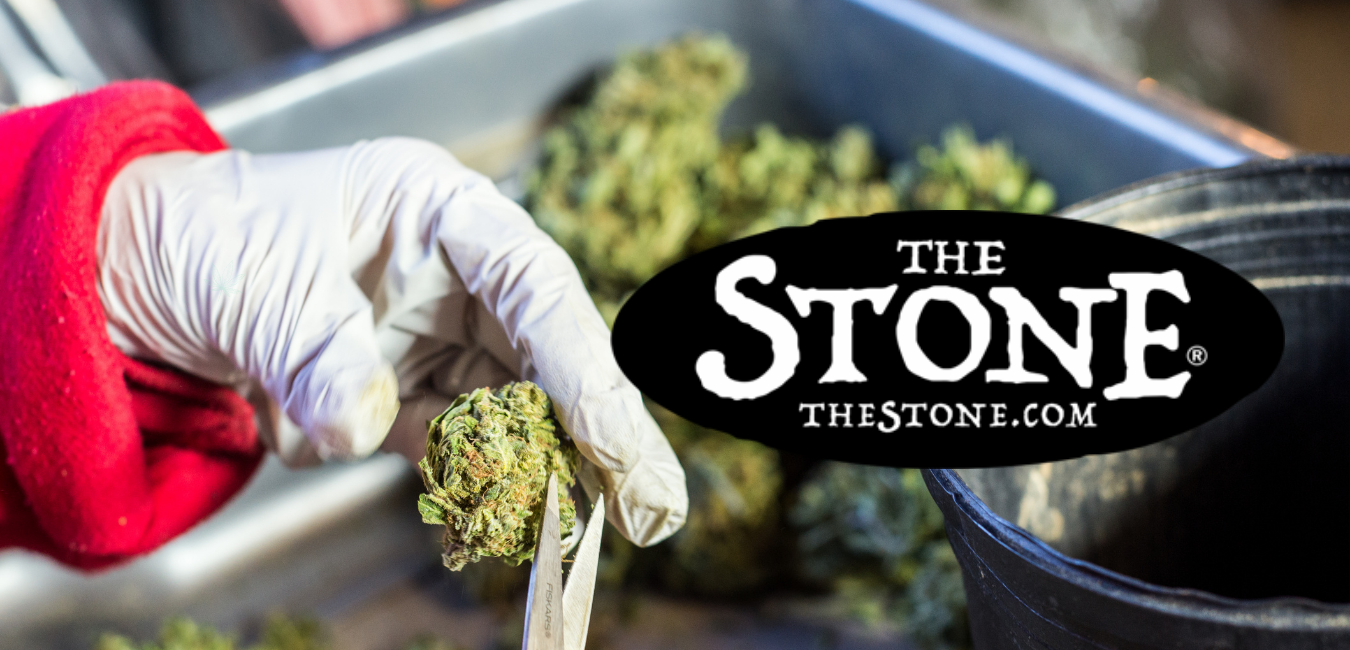
Hello! Welcome to the Cannabis Class. Today is all about trimming cannabis with your fingers, scissors, or machine. The difference between these three methods is that it takes longer to do when you use your fingers. Still, the results are nice and smooth, scissors are faster than using your hands but can sometimes cut off more than you want, and when you use machines, it’s the quickest way to get all your buds trimmed perfectly but sometimes results in a lot of waste.
As always, we’ll start with our freshly harvested plants that need to be trimmed. They look like this:
Before I go into any methods, I decided to break down the different parts of cannabis where you want to trim. I’ll be using the example of popcorn buds, which are smaller nugs since they are younger.
Many people don’t know what the parts of cannabis are called, so let’s start with that. The central element is the bud itself, but Gummie explained in a video that there are five different parts to the bud.
The central part is called the cola, which is usually covered in trichomes (or crystals), and they are where you’ll find most of your THC.
Gummie also explained three “tails” on the cola, which are what we call the stalks that come out of the cola and hold the trichomes. These tails play a pretty important role in the potency of your buds, and we’ll cover that later on.
The sugar leaves are the next part, which is still covered in trichomes but don’t contain as much THC as the cola because they’re not mature enough. These produce trichomes, so the sugar leaves will still be in there when you use your fingers to trim.
Lastly, two parts are on opposite sides of each other, but on one plant, they may not always be on opposite sides, which is why it’s essential to know where they’re located. They’re called the guard leaves, and there’s one on each side of where your cola starts to form.
The first method we’ll cover is trimming cannabis using only your fingers, and as I said before, it takes a longer time, but it looks nice, and you’re able to be more gentle with the plant.
Some people like using their fingers to break it apart, but I found that grinder works the best. Once they are broken down, you’ll want to make sure all your stems are off before getting started on actually trimming them.
After you’re done breaking up all your buds, you’ll want to get a container ready to catch anything that falls out while you’re trimming. I like using my grinder because it has the bit catcher in the bottom of it, and then I dump them in a pile when I’m done.
The final step before we start trimming is removing all the larger sugar leaves. If you’re going to use your fingers to trim, then it’s a lot easier because you can bend them and pull them off the stem rather than cutting them off with scissors or trying to break apart all the large sugar leaves from smaller buds.
After this step is complete, we’ll start trimming! Grab the bud in your fingers and start pulling the leaves hanging off in different directions. You want to pull them away from the bud, not up or down where they’re still sticking to it.
After you’ve pulled all the large sugar leaves off the bud, you’ll notice every part of it is covered in trichomes, so you can’t see what you’re trimming anymore. One way you can check is to grab it in between your fingers and lightly squeeze it. When you feel it crushing up, that means there are sugar leaves that are still on the buds that have not been pulled off yet – so pull them off! Once you’ve finished this step, look at it and see if you still think it is covered in trichomes.
Once you’ve pulled out all the trichomes with your fingers, take one of the keef pads (I like to use these because they’re smaller than a grinder) and brush off all remaining sugar leaves that are stuck in the bud. If there is anything left, put it back in your fingers and pull it off.
This is what my bud looked like after I did this. The only left thing was a few stems that stuck out and some of the smashed-up keef pad.
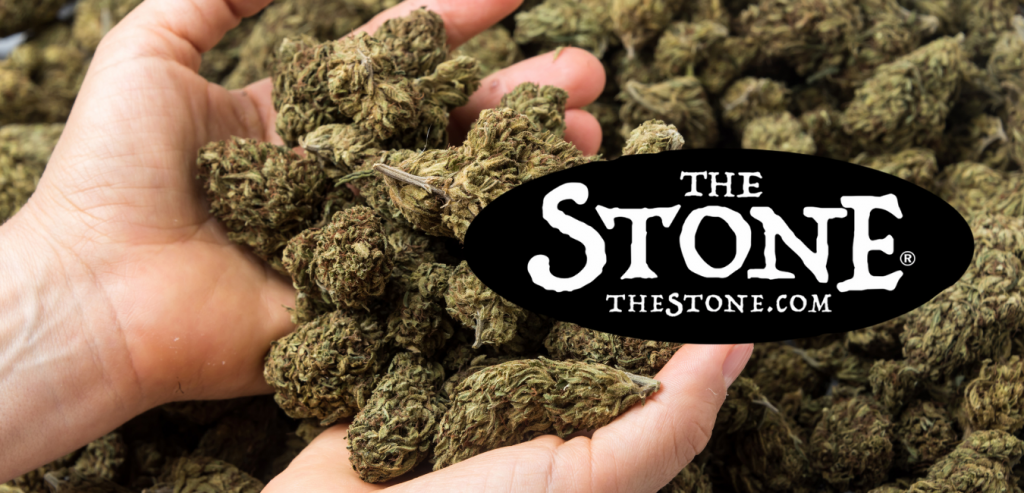
The next step will be using your scissors to trim even more sugar leaves off. Start by going over the bud with your fingers first to make sure all the large sugar leaves are out, and then take a look at it before you start using your scissors. If any smaller sugar leaves have been pulled off but still have trichomes attached, you can cut those off as well, so they don’t get mixed in with your final product.
Last but not least, you’ll want to take a look at it and see if any sugar leaves are sticking up above the rest of the buds that have been pulled down to level them out. If so, use your fingers or scissors to cut those off.
That’s it! Once you’ve finished trimming your bud, you can start using it however you like. I usually want to put mine in the freezer for a few days to let them cure and dry before I smoke, but that’s up to you!
As with everything, start by breaking down your bud into smaller pieces and removing all items from the bud.
Take a look at your bud and see if any leaves have been pulled off but still have trichomes sticking to them – if so, grab those with your fingers and pull them off.
Grab your scissors and start cutting just below the leaves of the plant. There is no order you’re supposed to cut it in. You can go around it making cuts anywhere below the leaves.
Another critical step is to make sure all your buds are even after you’re done cutting them. If some were pulled lower than others because they had large sugar leaves on them, as I did, then use your scissors to level them out, so they’re all even and not sticking up.
As you can see, my bud is pretty well trimmed after I’ve used the scissors to cut off everything. You’ll want to look at yours and see if anything sticks out above the rest of them.
Grab those and cut them off as well.
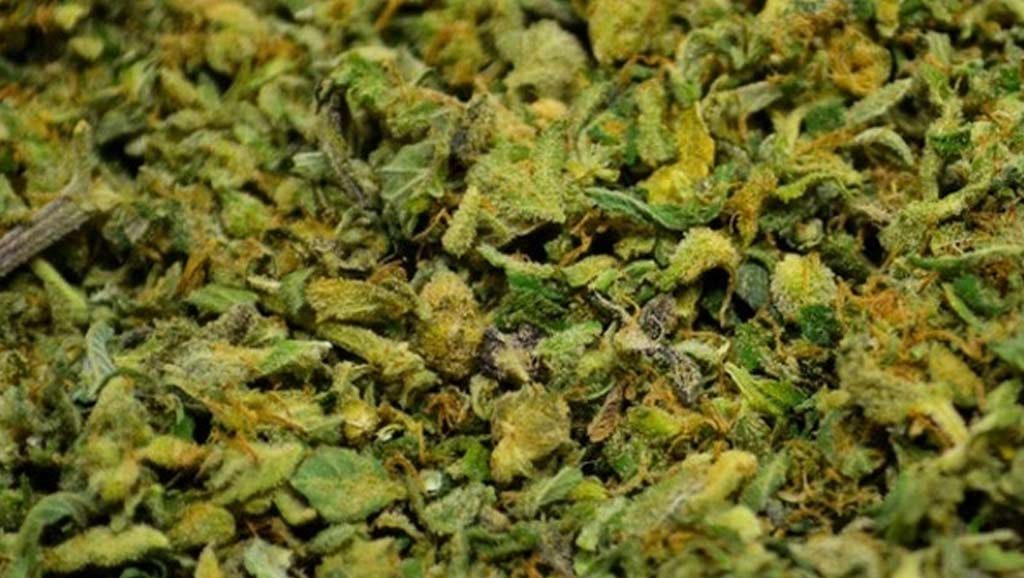
The only thing left now is to take a keef pad and brush off any remaining large sugar leaves that might be stuck to your bud. Your final product should look something like this:
Now you’re all done trimming cannabis! Remember, the second method of using scissors will not give you any keef, so if that’s something you’re looking for, I suggest the first method with the fingers.
The last thing I’ll cover is using machines. There are a few kinds of trimming machines out there, but I’m going to be covering the most popular one, which is called “The Triminator.” This machine helps make your trimming process much faster, but I’m personally not very fond of it because it rips too many parts of the bud off, and you don’t get an excellent final product.
There’s a little bit more to using this machine than just putting your weed in and turning it on, so let me explain how to use it. Here is my product before I’ve used the machine:
The first step is to break down your bud into smaller pieces, but keep in mind that this machine doesn’t have any leaves attached, so you don’t need to worry about them.
Put your broken-down bud into the tube of the trimming machine. Take all of it. Even if there’s some leftover. It’ll all get trimmed eventually.
Put the top of your machine on, put it in the middle of the table, and start turning it upside down. It will come out through the bottom onto a screen that separates any leafy parts from what you’re looking for, which is called “keef” or “kief.”
Here you can see how it separates the leaves from what you want to get. You’ll need to remove the white film over your keef, I usually do this with my hands, but it’s up to you.
Now that your keef is separated let me explain why these machines don’t give the best final product. This bud has been ripped apart, and some of the buds haven’t even come through. This is why I don’t particularly appreciate using these machines because you lose a lot of trichomes and final products when you use them. If you’re looking for a quick way to trim your bud, I suggest using the first method with your fingers.
Well, that’s all there is to trimming cannabis. Next time you have some bud that needs to be trimmed, consider following this guide to help you out!
The taste of homegrown buds can be improved in a number of ways. Colorado Dispensaries have been testing the effects of Live Resin to improve the taste of their weed.
Some Colorado dispensaries are now carrying Live Resin, which is cannabis that has been flash-frozen within seconds after being cut from the mother plant. This allows for all terpenes and cannabinoids to be preserved without degrading due to heat exposure, resulting in a much more robust flavor profile and a higher THC percentage when consumed.
1. Cure Your Buds Properly – The best way to improve your homegrown bud’s flavor is by curing it. This process allows for the plant to dry out slowly, preserving the terpenes that give your buds their taste.
2. Try Live Resin – Colorado dispensaries may carry Live Resin, which is cannabis that has been flash-frozen within seconds after being cut from the mother plant. This allows for all terpenes and cannabinoids to be preserved without degrading due to heat exposure, resulting in a much more robust flavor profile and higher THC percentage when consumed.
3. Read The Marijuana Menu At Colorado Dispensaries – Colorado dispensaries will often catalogue their strains of weed by their flavor profiles, such as “Berry” or “Earthy”. If you know what flavors you like before you it then you’ll be able to find them in Colorado Dispensaries across Colorado.
4. Keep Your Buds Properly Stored – Store your buds properly in an airtight container, in a dark place to prevent degradation of the terpenes. Check out our article on storing marijuana to learn more about this process.
5. Try Dabbing – Live resin is made for dabbing, since it is already highly concentrated with THC (usually at least 70%) you only need a tiny bit of shatter or wax to get twisted.
6. Buy Local Colorado Cannabis – Colorado has legalized weed recreationally and medically, so buying locally grown Colorado bud will usually be better tasting than the imported stuff because Colorado growers use special techniques like organic growing practices and providing special nutrients to their plants which results in a more natural and robust flavor. Colorado growers also care about the experience of their customers, so Colorado dispensaries go above and beyond to provide quality products.
7. Use A Dab Rig – Colorado dispensaries will usually carry dab rigs for Live Resin because it is much easier to consume than traditional weed, allowing you to take much smaller hits with much higher THC percentages. The high from a dab lasts longer as well, giving you a good overall experience overall!
8. Try Terp Slingers E-Juice – Colorado’s Terpenes are incredible when combined correctly with THC, resulting in an awesome vaping experience that extracts the pure goodness out of your bud! Colorado Dispensaries frequently carry vape
We warmly welcome you to explore our highly acclaimed strains, concentrates, and edibles. Serving recreational clients with pride is our passion.
At our dispensary, you'll find a professional yet inviting atmosphere that prioritizes your comfort and privacy. Feel free to stop by at your earliest convenience to experience it for yourself. We can't wait to serve you!
