
This website is for users aged 21 and over. Please confirm your age.
What’s the Best Soil to use for growing cannabis? There is no such thing. It depends on how you want to cultivate it and when you need to harvest it. Although you could try a few different methods, I’ll describe just one here. You’ll see that the only difference between this method of cultivating and any other method is the medium you choose to grow in.
When I started growing marijuana, I tried buying bags of soil from the garden center for $20 each, but they never seemed to work out. The plants would be underfed and yellow, and it took forever to harvest them.
So after switching up my cultivating methods and giving it another shot months later, it worked! As a new grower with limited experience, I wasted several months trying to cultivate cannabis in a medium that you can buy at the store. It wasn’t until I tried making my own from scratch and transplanting the seedlings into separate containers where they would receive individual nutrients and be hand-watered until harvest that things started taking off.
For those who do not make your soil, it’s pretty easy to get started using a pre-made mix that contains most of the nutrients needed by marijuana plants and an inoculant (more on that in a moment). I highly recommend this option for new growers because it’s less stressful than making your own and easier to get the nutrients right.
Mix: 2 parts premium quality dirt/compost 1 part perlite *Optional* 1 part worm castings *Optional* Mix until cookie dough’s consistency, so it holds together when you squeeze a handful.
If you don’t have time or inclination to make your own, I recommend using Fox Farm’s Organic Cannabis Grower’s Mix. It comes with Yummy Earth organic earthworm castings and an active Mycorrhizal fungus. These two ingredients are a huge part of what makes this mix so effective because they provide the tiny roots of the marijuana plant with natural, biological nutrients. It’s an inoculant which means it’ll give your seedlings a good head start by providing all the benefits in one bag.
A 5-gallon bucket with a lid is perfect for this, but you can use any container that’s the right size (at least 5 gallons). You’ll be mixing up your own from a bag of premium Potting medium and whatever amendments you want to add.
You can use any pot, but I prefer plastic pots because they’re easy to clean and take up less space when transplanting seedlings into them later. Depending on the size of your container, you’ll need anywhere from one to three 4-inch pots. I suggest getting a multi-pack of four 4-inch pots to start with.
This main ingredient contains the nutrients your marijuana plants need to get big and strong! If you’re cultivating in bags, a good potting medium can make a difference for your plants. For this reason, I recommend getting a premium mix like Fox Farm’s Ocean Forest.
If you’re growing in a container, mix up your Soil using Fox Farm’s Organic Soil and worm castings (from Yummy Earth). To make this happen, take an empty 5-gallon bucket, fill it halfway with Soil from the bag, add a cup of worm castings, and mix it up.
Cultivating marijuana from seed is the most common way to cultivate pot. Clones are a faster alternative because they’re already mature and developed, so they’re ready for transplanting into separate pots right away. This makes them great for first-timers who don’t want to deal with the wait time of starting from seed. I usually start some of my plants from clones and others from seeds because it’s an excellent way to check out both methods and decide which you prefer.
…especially during the newborn stage. You’ll need to provide your plants with a source of nitrogen (N) and phosphorous (P), two essential nutrients for vigorous development. The best way to do this is by adding Fox Farm’s Grow Big, which contains the right balance of N-P in one bottle. It also comes with a kelp meal, which provides your plants with various minerals needed for a healthy cultivation.
In addition, it contains the amino acid humic acid, which works in combination with other nutrients to deliver balanced development and increased uptake and assimilation of food by your plant cells. This is especially important during flowering because it encourages heavy resin production, making your buds thicker, fatter, and frostier.
You’ll need water to mix it up and top off your plant’s pots once they’re in the ground or cultivating container. I like to use tap water left out overnight, so it has a chance to get rid of chlorine, chloramines, and other chemicals. Alternatively, you can contact a water filter like the Berkey Water Filter System that instantly removes these unwanted substances. Just remember to use only filtered or bottled spring water.
You can use regular outdoor sources, but I recommend getting feminized seeds instead because they’ll develop into female plants every time. I usually get my seeds from a seed bank like Nirvana Seeds or an online collection of medical marijuana seeds.

This could be anything you have on hand that’s big enough to hold your container filled with soil + seeds/clones/plants. I used old clay containers in the past, and they work great! Make sure that whatever you’re using can hold at least 12 gallons of Soil, which is how much space a full 6-gallon bucket takes up.
I wouldn’t say I like how latex gloves feel when I’m working inside my garden, so I prefer to use Nitrile or Vinyl gloves. They’re more flexible and comfortable and can protect your hands if you get some sap on them or if another kind of spill occurs while you’re working.
I discussed this above when I suggested mixing up a big batch of Potting Soil for what you’re cultivating.
If you want to be sure your plants are getting the best environment possible, a pH meter is a must-have tool that will allow you to check the exact pH level of your potting soil mixture before planting. A PH of 6.5 to 7 is ideal for most marijuana plants, so you’ll want to strive for that.
You don’t need to get a fancy meter like this: an inexpensive pH test kit will work just as well and only cost about $10. Remember that the color charts on the test strips are backward compared to what you see on the package – RED is LOW PH, and BLUE is HIGH PH.
These simple solutions sprinkled evenly throughout your Soil help keep things at the right pH level, raising or lowering your mixture as needed to hit the sweet spot for development (6.5-7.0). They are a bit pricey but last a long time if you only use them occasionally.
Because you’ll be using a soil-based medium that can last until harvest, it’s possible to skip the vegetative and switch right into flowering whenever you want without worrying about adding more nutrients later on down the road. That means your plants will stay in the vegetative stage from germination to harvest.
There are many different nutrient lines out there, and many can work with soil-based setups. Some companies sell their lines, but you’re better off going with a tried-and-true brand like General Hydroponics Flora Trio 3 Part (N-P-K 3-1-2), one of the most widely used lines in marijuana cultivation.
You need this to make sure your topsoil stays right around 70 degrees. At that level, you’ll be able to develop healthy plants indoors all year round, no matter how cold it gets outside.
This is another one that’s not necessary but can help you, especially in the beginning when your grow room doesn’t have a consistent temperature.
It is pretty mandatory for cultivating marijuana indoors because it helps keep things at even 70 degrees and keeps your plants from getting too hot or cold. You might need to get an adapter to fit your thermostat into the wall, but once that’s set up, you need to keep a close eye on it for a few days until you figure out the correct settings for your grow room.
These should be able to control all of your other gadgets, including…
These things work together to power your indoor grow lights. The ballast, which looks like a transformer, takes the electricity in from your wall’s socket and controls it up so that the bulb can produce light.
Since you’ll be using two different kinds of lights (one for veg and one for flower), you’ll need one ballast each morning. Here are the ballasts and bulbs I’ve been using:
For flowering, use a High-Pressure Sodium (HPS) bulb to get your plants in peak flower mode since this gives them their best chance of producing dense, sticky buds in the flowering stage. Make sure you get a ballast that can work with both MH and HPS bulbs to have something to use when they enter the flowering stage.
with my T5 grow lights for cultivating indoors under CFLs during my first few crops. It was cheap and worked well, but the T5 bulbs are starting to burn out now that I’m up to my 4th grow.
with this ballast above for growing indoors under CFLs during my first few grows. These light bulbs only last me about 6-8 produce cycles before they burn out, so I’m upgrading to this Full Spectrum Grow Light Bulb for my subsequent growth.
That’s it! You might notice that I didn’t include anything about the actual growing medium in your kit – that’s because you can use pretty much anything as long as it has good drainage and holds onto water. This account is an excellent place to start learning about different kinds of growing mediums if you want some guidance on picking something for your grow room.
All setup? Now it’s time to learn how to get the most out of every stage of your indoor marijuana grow!


Growers have been experimenting with different ways to mature their homegrown organic buds, and they finally found a method that works for them. The Growers uses two other techniques: the “dry-ice” and the “flushing” methods.
Here’s how they do it:
First, he harvests his buds and then hangs them upside down in a cool, dark place.
Then, they take dry ice and put it in a container beneath the hanging buds. The dry ice creates a cold, humid environment perfect for maturing the buds. After about 24 hours, they remove the dry ice and allow the buds to air-dry for another day or two.
Finally, they “flush” the buds by watering them with plain water for two weeks. This final step allows the plants to absorb all of the nutrients and moisture they need, resulting in a more potent and flavorful product.
Growers are confident that this method will produce the best-quality buds possible. Stay tuned for updates on his progress! Thanks for reading.
So there you have it, three different methods that growers can use to mature their homegrown organic buds. Do you have any experience with growing cannabis? Let us know in the comments below! Thanks for reading. #cannabis #organic #bud #dryice #flushingmethods #maturingbuds
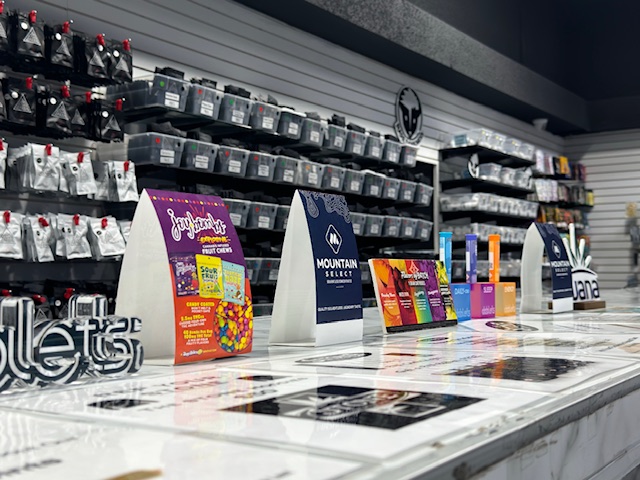
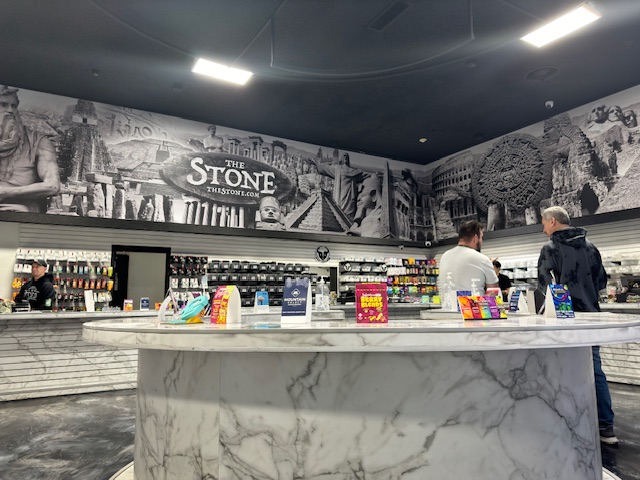
We warmly welcome you to explore our highly acclaimed strains, concentrates, and edibles. Serving recreational clients with pride is our passion.
At our dispensary, you'll find a professional yet inviting atmosphere that prioritizes your comfort and privacy. Feel free to stop by at your earliest convenience to experience it for yourself. We can't wait to serve you!